How to Test an eSIM Before Your Trip, Step by Step
7/21/2026
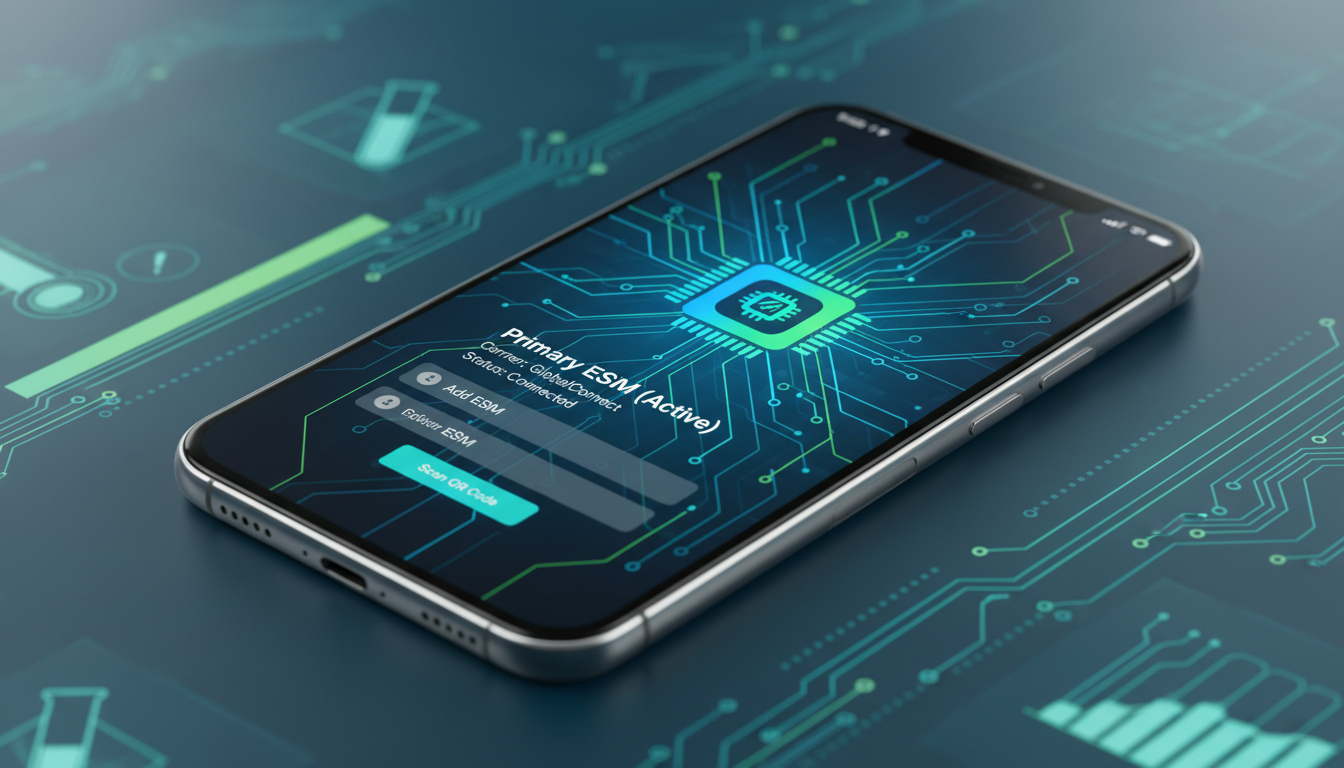
In short, what you'll discover in this article: a step-by-step way to test an eSIM before you leave for your trip, based on a real pre-departure checklist, plus the pitfalls — like testing at home on Wi-Fi only — that give travelers a false sense of security.
1. A Real Scenario — Testing Your eSIM Before Departure
Picture this: you land in a new country, open your maps app, and nothing loads — because you assumed the eSIM 'worked' simply because it installed at home over Wi-Fi. Testing an eSIM properly means more than just seeing a green checkmark in settings; it means confirming mobile data, calls, and roaming all function before you're relying on them abroad.
A quick pre-departure test, done the right way, catches these issues while you still have time to fix them.
2. What Is an eSIM?
2.1 Definition and Differences from a Physical SIM Card
An eSIM (embedded SIM) is a digital SIM embedded directly into your smartphone or device's motherboard. Unlike traditional physical SIM cards, which you insert manually, the eSIM allows you to activate cellular plans without swapping cards.
This technology offers flexibility by enabling multiple profiles on one device.
2.2 Benefits and Limitations
The benefits of eSIM technology include:
- Instant activation without visiting a store
- Ability to switch carriers or plans remotely
- Support for multiple profiles on one device
- Reduced risk of losing or damaging a physical SIM
However, limitations exist:
- Not all devices support eSIMs
- Some carriers may not offer eSIM plans
- Initial setup can be confusing for first-time users
3. Prerequisites Before Testing an eSIM
3.1 Compatible Devices (List and Verification)
Before testing an eSIM, ensure your device supports it. Popular compatible devices include:
- iPhone XS and later models
- Google Pixel 3 and newer
- Samsung Galaxy S20 and above
- Microsoft Surface Duo
You can verify compatibility in your phone’s settings or manufacturer’s website.
3.2 Carrier Information (eSIM Profile, QR Code, SM-DP+ Address)
To activate an eSIM, you need specific carrier details:
- An eSIM profile provided by your carrier
- A QR code or manual entry details like the SM-DP+ address (Subscription Manager Data Preparation)
Having these ready before testing saves time.
4. Methodology for Testing an eSIM (Step-by-Step Procedure)
4.1 Step 1: Activation (Scan QR Code / Enter SM-DP+ Manually)
Begin by scanning the QR code given by your carrier through your phone’s cellular settings or manually entering the SM-DP+ address if required.
4.2 Step 2: Initial Connectivity Test (Send/Receive SMS, Calls)
Once activated, test basic connectivity by sending and receiving SMS messages and making calls to confirm voice functionality.
4.3 Step 3: Performance Tests (Download/Upload Speeds, Latency)
Check data speeds using apps like Speedtest to measure download/upload rates and latency for a reliable internet connection.
4.4 Step 4: Roaming Test
If you plan international travel, test roaming capabilities by enabling roaming settings and verifying network access in different regions or via Wi-Fi calling.
4.5 Step 5: Multi-Profile Management and Switching
Test switching between multiple eSIM profiles if you have more than one active plan on your device to ensure seamless transitions.
4.6 Step 6: Robustness Test (Deactivate/Reactivate, Reinstall)
Try deactivating and reactivating the eSIM profile or reinstalling it via QR code to check stability and ease of recovery from issues.
5. Useful Tools and Commands for Diagnosing an eSIM
5.1 Android/iOS Apps, Operator Codes, Logs, Screenshots
Use built-in diagnostic tools on iOS or Android to view cellular status:
- On iPhone: Go to Settings > Cellular > Cellular Plans
- On Android: Settings > Network & Internet > Mobile Network
Carrier-specific codes can reveal network info; capturing logs/screenshots helps when contacting support.
6. Common Problems and Solutions (Troubleshooting)
6.1 Common Activation Errors and Fixes
Errors like “Activation Failed” often result from incorrect QR codes or network issues; retry scanning or contact your carrier for updated info.
6.2 Network Issues and Actions to Take
If calls drop or data won’t connect:
- Toggle airplane mode on/off
- Restart your device
- Check carrier settings updates
- Reset network settings if needed
7. Interpreting Test Results and Success Criteria
A successful test means:
- The eSIM activates without errors
- Calls and SMS work reliably
- Data speeds meet expected levels
- Roaming functions as intended
- Profile switching is smooth
If any step fails repeatedly, further troubleshooting or contacting support is advised.
8. Case Studies / Real-Life Examples
Consider a traveler activating an international eSIM data plan before departure who tested connectivity via SMS and data speed apps at home to avoid surprises abroad. Another user switched between work and personal profiles seamlessly during business trips after confirming multi-profile management worked well.
9. Conclusion and Downloadable Checklist / Call to Action
Testing your eSIM thoroughly ensures peace of mind before relying on it during travel or daily use. Follow the steps outlined here to verify activation, connectivity, performance, roaming, and robustness confidently.
For those looking for the best deals on verified international eSIMs with promo codes like MYBESTSIM from providers such as Roamic or Airalo, explore our discountesim.com blog for exclusive offers that help you save while staying connected worldwide.
Checklist Highlights:
- Confirm device compatibility
- Gather carrier activation info
- Activate via QR code/SM-DP+
- Test calls, SMS, data speeds
- Verify roaming functionality
- Manage multiple profiles smoothly
- Perform robustness tests
Start testing today to enjoy hassle-free connectivity wherever you go!
FAQ
How do I activate an eSIM on my device?
To activate an eSIM, scan the QR code provided by your carrier in your phone's cellular settings or manually enter the SM-DP+ address. This process links your device to the carrier's network without needing a physical SIM card.
What tools can I use to test eSIM connectivity?
You can use built-in diagnostic tools on iOS or Android, such as checking cellular plans in settings. Apps like Speedtest help measure data speeds, while sending SMS and making calls confirm voice functionality.
Why should I test roaming on my eSIM before traveling?
Testing roaming ensures your eSIM can connect to networks abroad without issues. By enabling roaming settings and verifying network access, you avoid unexpected connectivity problems during international trips.
What common problems occur during eSIM activation?
Activation errors often stem from incorrect QR codes or network issues. If activation fails, retry scanning the code, check your internet connection, or contact your carrier for updated activation details.
Why does my eSIM show as active but I still have no data at my destination?
This is usually because you tested only at home over Wi-Fi rather than checking mobile data separately. Before you travel, turn off Wi-Fi, enable data roaming for the eSIM line, and confirm you can load a webpage using cellular data alone — that's the real test, not just seeing the profile appear as 'active' in settings.

David Mercer
David is a travel and consumer-tech writer focused on getting the lowest price on everything, data plans included. At Discount eSIM he hunts down the biggest verified discounts from the major providers and shows how to stack them at checkout.